Disclosure: Some of the links below are affiliate links. If you click through and make a purchase, we receive a small commission. This allows us to continue to deliver valuable, free content to North Texas gardeners. Thank you for your support!
Solarization is a technique used by organic farmers to rid soil of pests and disease in between crop plantings. It’s an effective and scientifically proven technique that is environmentally-friendly and lazy gardener-friendly. Keep reading to learn how to solarize your home garden beds during summer months when nothing grows in our blazing heat anyway.
What is solarization?
Solarization is the process of trapping the heat generated by sunlight and raising the temperature of the top layer of soil to a point that kills pests and disease pathogens.
A 2001 study performed at Texas A&M found that four-week solarization reduced
The scientifically studied method for solarization is to cover soil with clear plastic and leave in place for at least 4 weeks until the soil has been effectively treated.
Here are the steps for solarizing your soil at home:
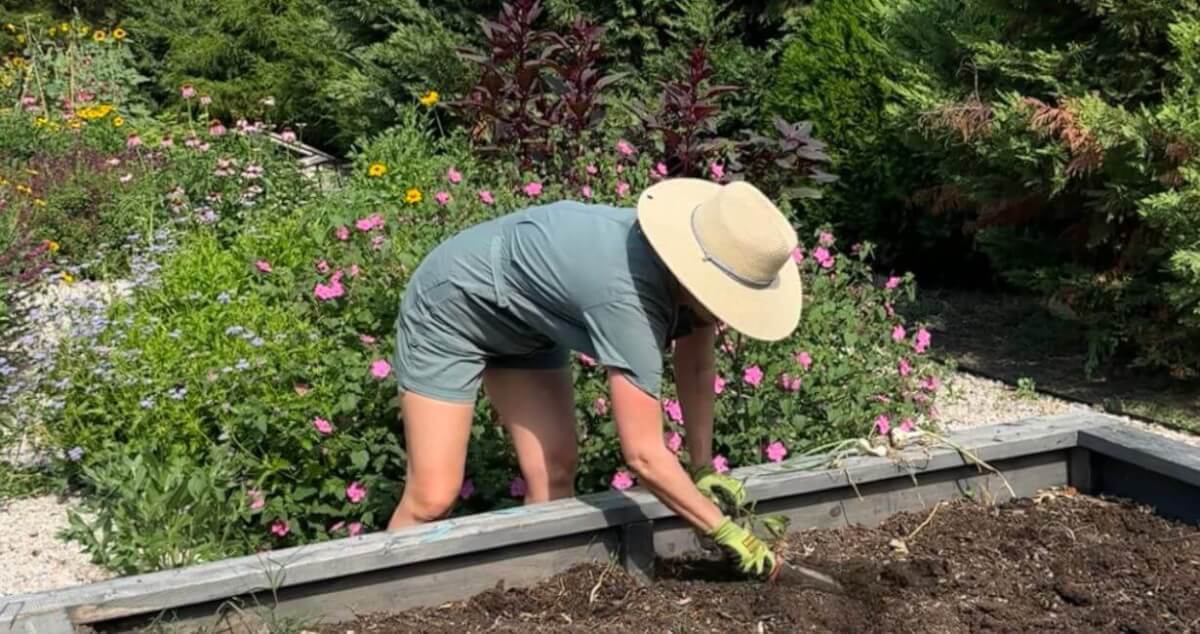
Step 1: Clear garden bed of debris.
Remove all plant material, weeds, and mulch material from the area to be solarized. The cleaner the bed, the more effective the solarization.
Step 2: Wet the area.
To maximize heat generation, wet the area thoroughly before applying plastic so that the plastic will trap in moisture and create steam.
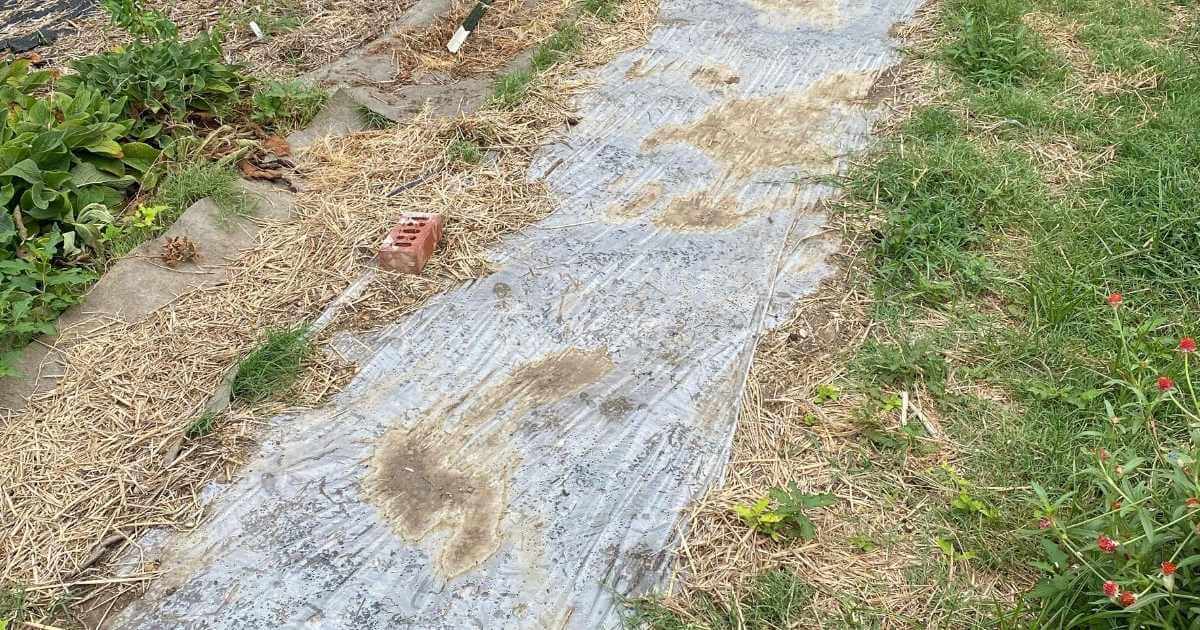
Step 3: Apply plastic.
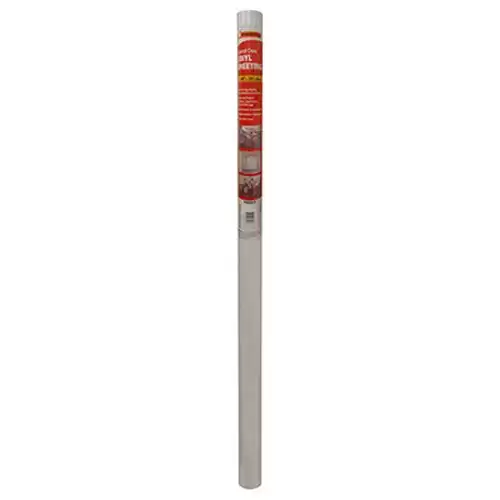
Lay down a single layer of clear plastic. According to UC Davis, the thinner the plastic, the higher the heat generated. However, thinner plastic is more prone to tearing. UC Davis recommends 2mm plastic, but I use
Also, it is important that the plastic is clear. White or black plastic does not generate as much heat as clear plastic.
Secure all edges of the plastic with a layer of soil, mulch or heavy rocks. It’s important that the moisture and heat is completely trapped.
Tip: If the bed is uneven, water can accumulate on top of the plastic. Standing water in the heat of the summer attracts mosquitoes. I recommend placing a line of bricks or stones down the center of your bed underneath the plastic so that water can roll off of the plastic if it rains or if you have sprinklers.
Step 4: Do nothing for 4 weeks
Yes. Do nothing. Leave the plastic in place for at least four weeks to ensure maximum solarization. The best months in North Texas to solarize are July, August, and September when it is hottest and sunniest. This is the perfect time to prepare beds for fall planting.
There should be a layer of condensation under the plastic throughout the solarization process. If you stop seeing condensation, the bed has dried out. Remove plastic, re-wet soil, and replace plastic.
Step 5: Remove plastic and incorporate compost
After at least four weeks, remove the plastic and incorporate a good amount of high-quality compost into the bed to regenerate beneficial microbes.
Learn more about the science
To learn more about the science behind solarization and the result of solarization studies visit the following:
Technologies for Horticultural Development fact sheet: Solarization reduces weeds, pests in a week
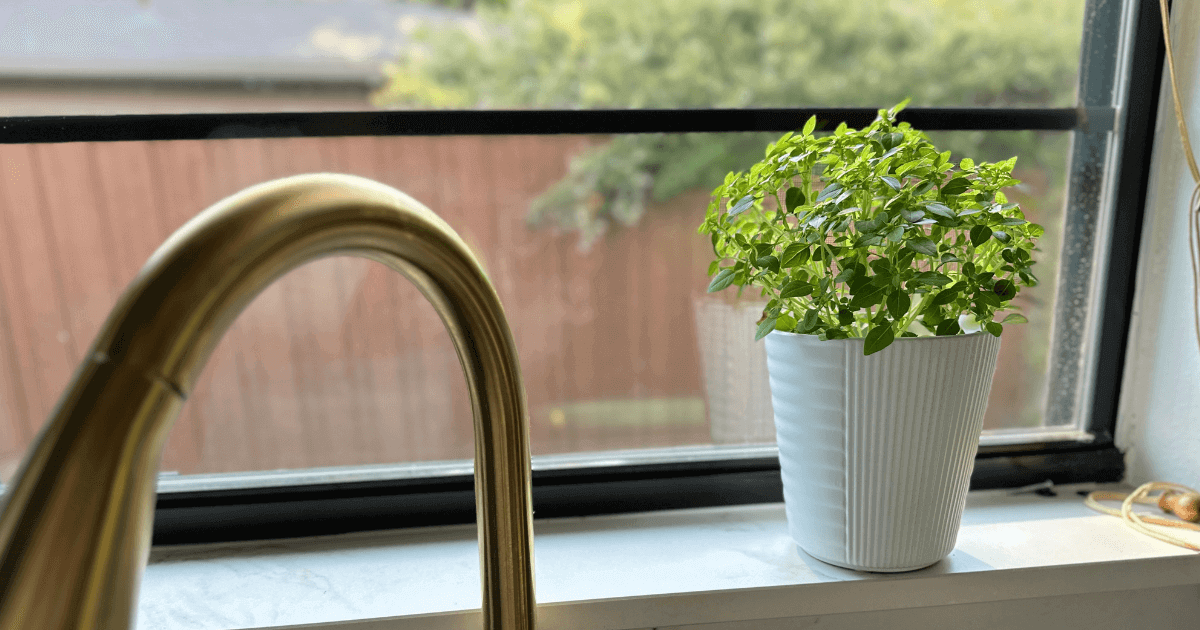
- New Plant I’m Testing: Kitchen Minis™ Bonsai Basil - April 24, 2024
- Resilient Perennials I’m Adding to My New Landscape - February 28, 2024
- 5 Ways to Enjoy Beautiful Fall Weather in DFW - October 18, 2023