Disclosure: Some of the links below are affiliate links. If you click through and make a purchase, we receive a small commission. This allows us to continue to deliver valuable, free content to North Texas gardeners. Thank you for your support!
I am an expert on seed-starting mistakes. Why? Because I’ve made every single one of them. Twice! Though I firmly believe that mistakes are important learning lessons, here are some of the biggest seed-starting mistakes and tips for how to avoid them.
1) Using the wrong container
Don’t be fooled at the garden center or by catchy Pinterest seed-starting “hacks”. Creative seed-starting containers are just that: creative. And not effective.
Peat pots have become the darling of garden center aisles in recent years. Why? Because they are cheap to produce. Despite marketing claims, peat pots can cause big trouble.
Problems with peat pots
- Plant roots rarely make their way through the peat into the surrounding soil.
- They don’t rapidly decompose.
- Because of their permeability, they wick moisture away from the soil mix making it difficult to maintain moisture levels.
Other ineffective creative containers include egg cartons, milk cartons, newspaper, and seedling flats that require additional transplanting. While some commercial operations operate successfully with flats and soil blocks, these methods require a great deal of effort to maintain.
Commercial-grade cell trays
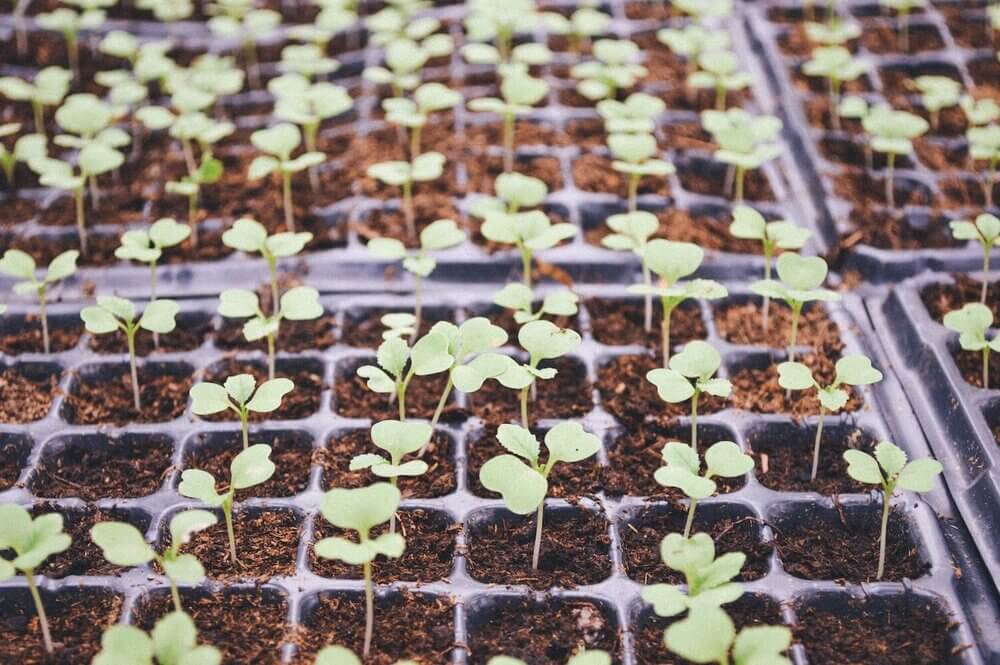
For seed-starting at home, I prefer plastic, commercial grade seed-starting trays with cells large enough so that a seedling can go from germination to final transplant from the same container. Commercial-grade is an important characteristic here – trays must be durable enough to re-use.
Also make sure to buy cell trays that come with a dome lid for humidity and a separate tray for bottom-watering and easier transport. When re-using trays, it is very important to disinfect them. You can soak them in a bleach solution (1 part bleach to 9 parts water), or spray with 3% hydrogen peroxide if you don’t like to use bleach.
2) Starting too many seeds in one tray cell
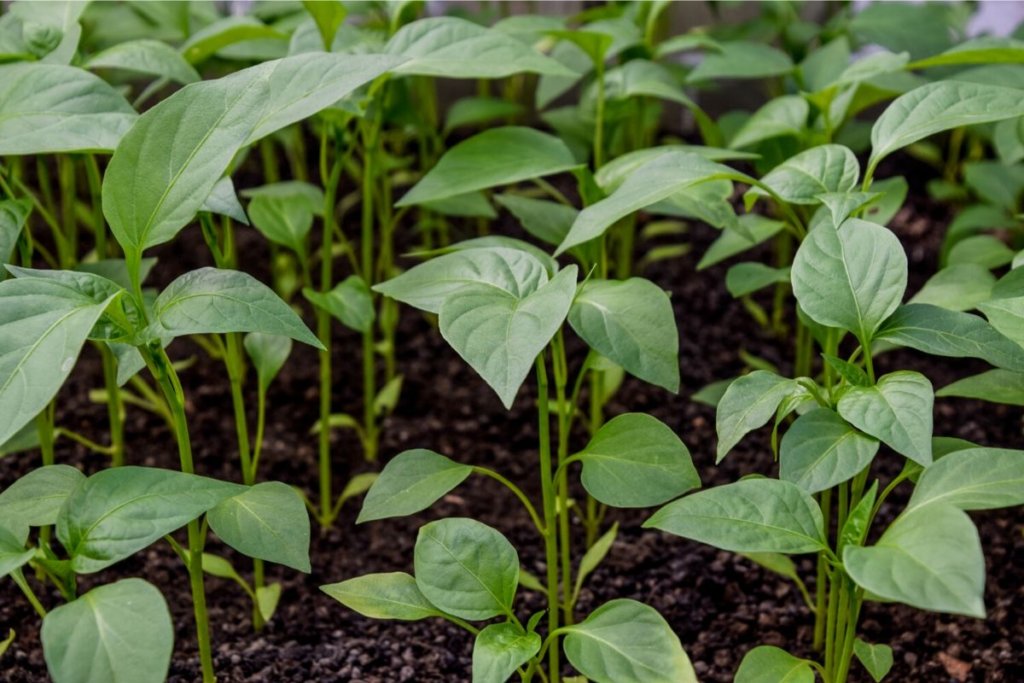
It can be tempting to over-seed in an attempt to ensure germination success, especially with super tiny seeds that are hard to handle individually. But once a seed germinates it will quickly begin to seek light, and if it has to compete with a pushy neighbor, it will sacrifice strength for length resulting in weak, “leggy” seedlings. Keep all seeds strong from the start by doing your best only to sow 1 or 2 seeds per cell. Only sow more than two if a seed packet notes that a particular seed has poor germination rates, and then be quick to thin out extra seedlings. (Embroidery scissors are perfect for this.)
3) Using the wrong lights or no lights at all
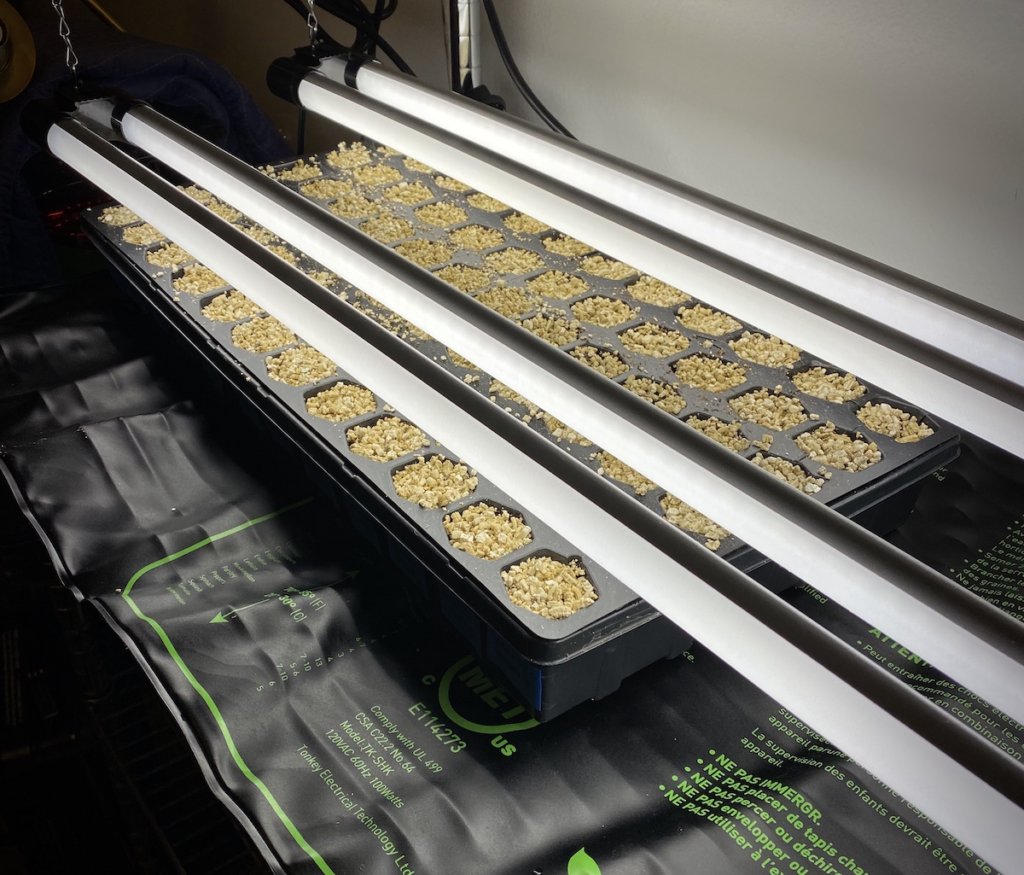
Seedlings germinate best at temperatures between 70 and 80 degrees and grow best at temperatures between 60 and 70 degrees with 16 hours of strong light. Unless you have a climate-controlled greenhouse, mimicking these conditions outside of your home during the heat of the summer or the cold of the winter is fairly impossible. This is why most gardeners prefer to start seeds indoors in a garage or a closet under artificial lights. (Even the sunniest windowsill isn’t enough light for strong seedling growth.)
LED shop lights work great
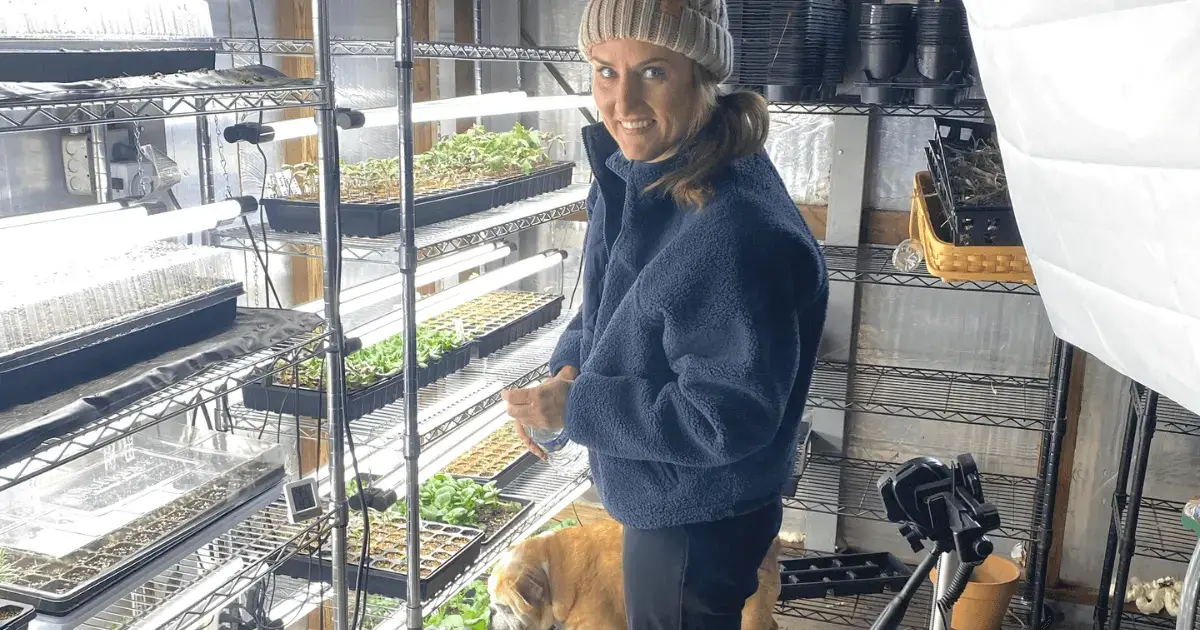
My germination station is nothing more than tube LED shop lights. Forget the fancy “grow
Keep a careful eye on seedlings once they have two or three sets of true leaves. It’s not uncommon for a plant to grow half an inch overnight and start to touch the bulbs. This will burn the leaves and damage the plant.
Connect the
“The light a plant receives, you remember, makes it possible for the leaves to manufacture starches and sugars, the components of growth. But a period of darkness is necessary for the plants to put these new compounds to use. Plants don’t “rest” at night. They digest and grow.”

4) Not taking the time to harden off seedlings
“Hardening off” is the process of slowly acclimating seedlings to outdoor conditions before setting them out into the garden. Sudden exposure to direct sun, wind, and fluctuating temperatures can cause severe damage to vulnerable seedlings – a sad and frustrating end to your investment of time and energy.
Start hardening while seedlings are still indoors by reducing water, stopping
5) Using a poor quality soil mix
Seedlings are like Goldilocks, every condition has to be “just right”, including the growing medium. Use the highest quality seed mix that you can buy, avoiding anything with synthetic fertilizers or novelty growing mediums (like Coco Coir). Seed-starting mixes are specially formulated to provide all of the things that young seedlings need to thrive. Johnny’s offers a great seed mix that has done well for us. Helpful hint: Pour seed mix into a sterilized bucket and moisten with water before firmly pressing into cell trays. We have also used Miracle Gro Cactus soil mix with great results.

6) Too much fertilizer
This year I went a little heavy with the organic
Fertilize seedlings sparingly with diluted fish emulsion (one teaspoon per gallon) twice a week after 2-3 weeks of growth.
7) Too much water
Most gardeners worry about their plants not getting enough water, but overwatering is a much bigger problem. Too much water causes roots to rot and restricts growth. Letting soil dry out from time to time allows roots to grow into air pockets.
The easiest way to determine when seedlings need water is to lift up the entire seedling tray. A dry seed tray will feel very light, and a moist seed tray will feel heavy. If a seed tray feels heavy, don’t add more water. Allow the seed tray to get lighter (without the seedlings wilting, of course) before
8) Using old seeds
To maximize your chances of seed-starting success, begin each growing season with freshly purchased seeds. Seeds can be successfully stored in cool, dry conditions, but unless you are diligent about seed storage, it’s best to start with fresh seeds to ensure high germination rates. Garden centers will remove seed once it is out of season, but take the time to check seed packets when purchasing to make sure that you are buying this year’s seeds. If you want to store unused seeds, keep them in airtight containers (like a mason jar) in the coolest, driest, darkest place in your house.
What are some of the biggest seed-starting mistakes that you’ve made? Let me know in the comments!
This all-in-one seed tray system delivers professional results for the home gardener. Plastic cell trays are easy to sterilize in between crops, and the humidity dome keeps seeds moist during germination.
- Why “Intensive” Gardening is Not Good - March 9, 2025
- How to Grow Bush Beans - March 1, 2025
- Grape Expectations - February 14, 2025


