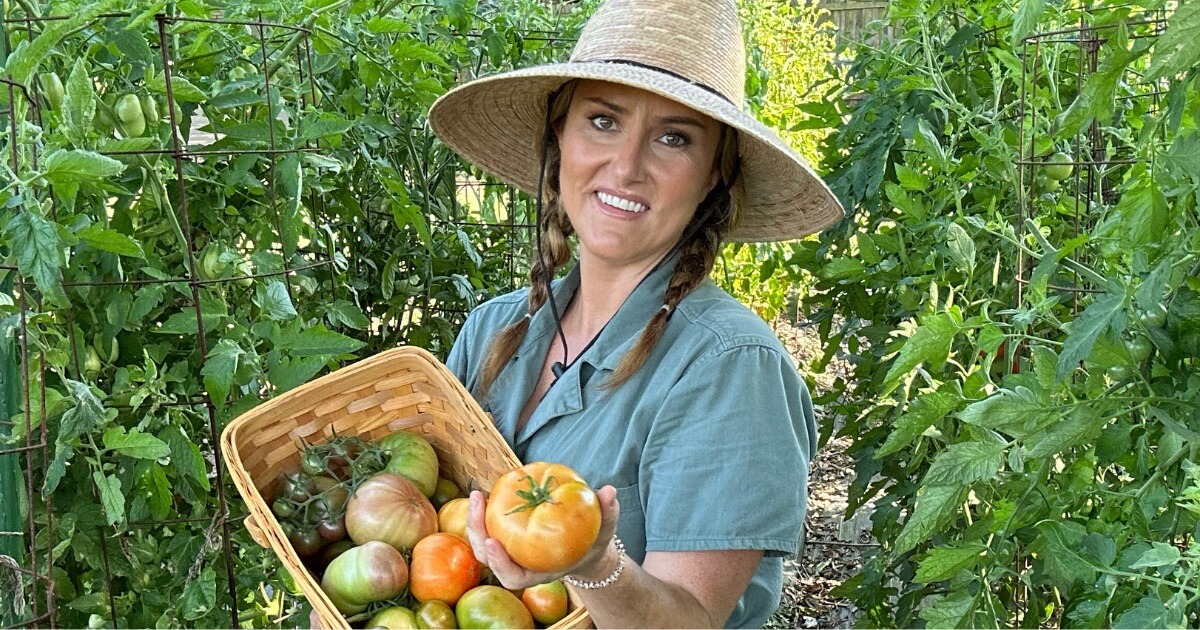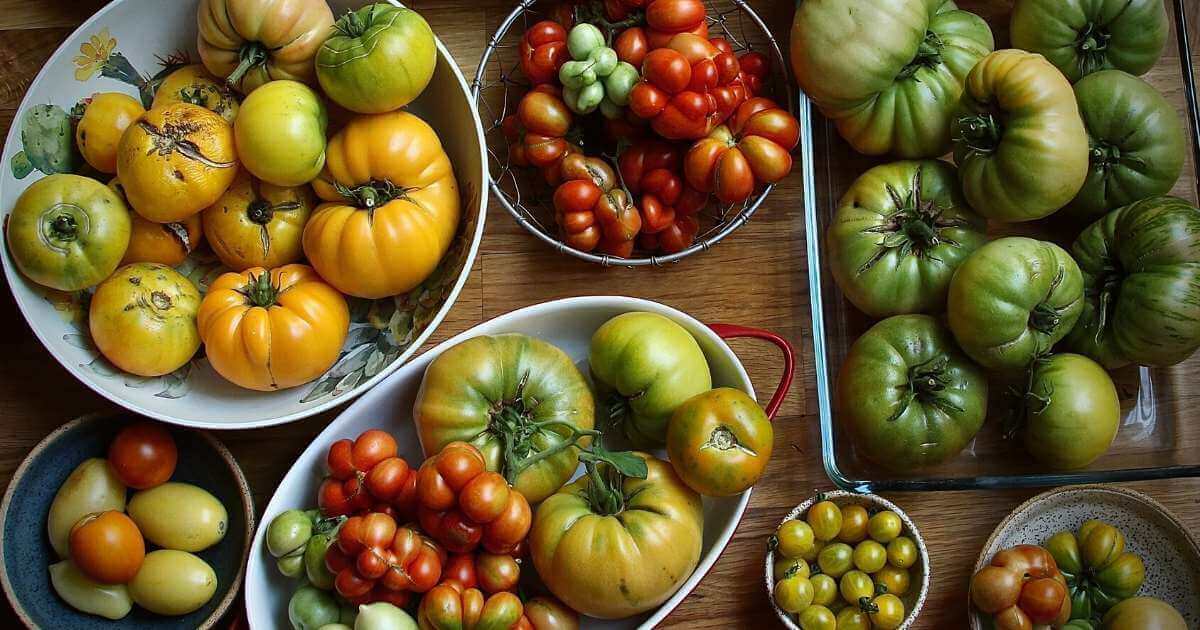
Late May and early June is the time to start seeds for fall tomatoes in North Texas. Here are some tips for getting started.
Why grow fall tomatoes?
North Texas has two growing seasons for tomatoes: Early Season (March-June) and Fall Season (September-November). This is when conditions are ideal: warm days and cool evenings. When nighttime temperatures rise above 75 degrees Fahrenheit in July and August tomatoes stop setting fruit.
Why start fall tomatoes from seed?
Starting from seed allows you to try a wider diversity of tomato varieties. I grow more than 20 different varieties of tomatoes each year to test what works well in North Texas. The fall season is my opportunity to re-test varieties that performed well in the early season or extend the harvest of my favorites.
What you’ll need to start fall tomatoes from seed
- Seed-starting cell tray with base tray and dome lid
- Quality soil-less
seed starting mix - Seeds
- Lighting
- Water source
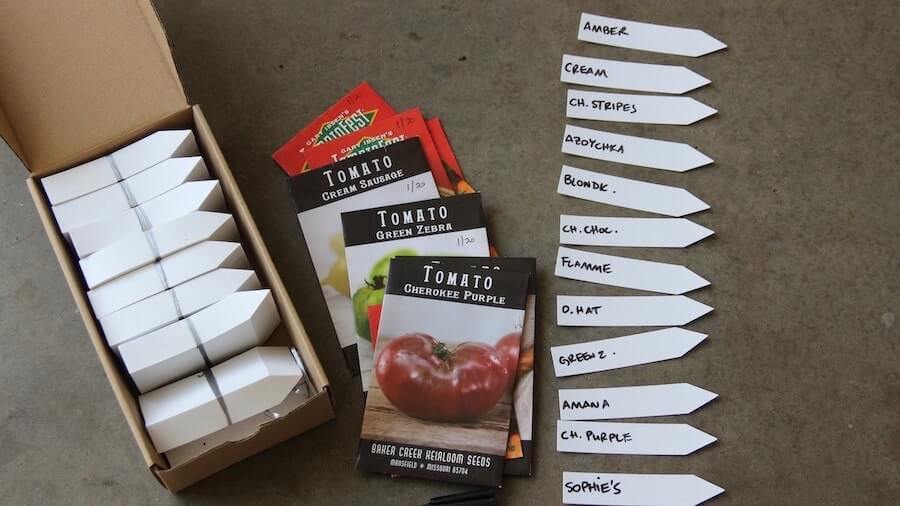
- Plant markers
- Weather-resistant pen
- Vermiculite
Fall Tomatoes Overview/Table of Contents:
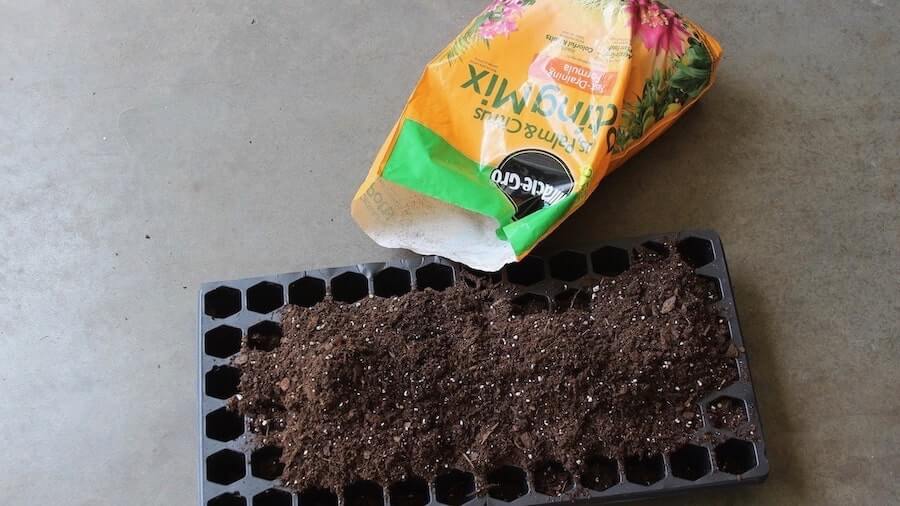
- Fill the cell tray with the soil-less mix. Take care to fill the corner cells.
- Gently water the cells with a fine spray of water.
- Insert plant markers.
- Carefully drop 2-3 tomato seeds on top of the mix in each cell.
- Add a layer of
vermiculite on top of all cells. - Gently water cell tray with a fine spray of water.
- Place dome on tray.
- Place tray system under grow
lights . - Once seeds have germinated, remove dome.
Let’s take a look at each step in-depth:
1. Fill the cell tray with the soil-less mix. Take care to fill the corner cells.
I was surprised to discover that the Miracle-Gro Cactus and Succulent Mix is perfect for starting seeds. I learned about this from a gardening friend who breeds amaryllis. Fill the cell tray to the top with the soil-less mix, and make sure that it fills all the cells evenly.
2. Insert plant markers.
Part of being a successful gardener is keeping careful records. Use good-quality plant markers, and
3. Carefully drop 2-3 tomato seeds on top of the mix in each cell.
For one reason or another not every seed that you sow will germinate. To ensure that you always have at least one seedling per cell, always sow at least 2-3 seeds per cell. You can thin them out later.
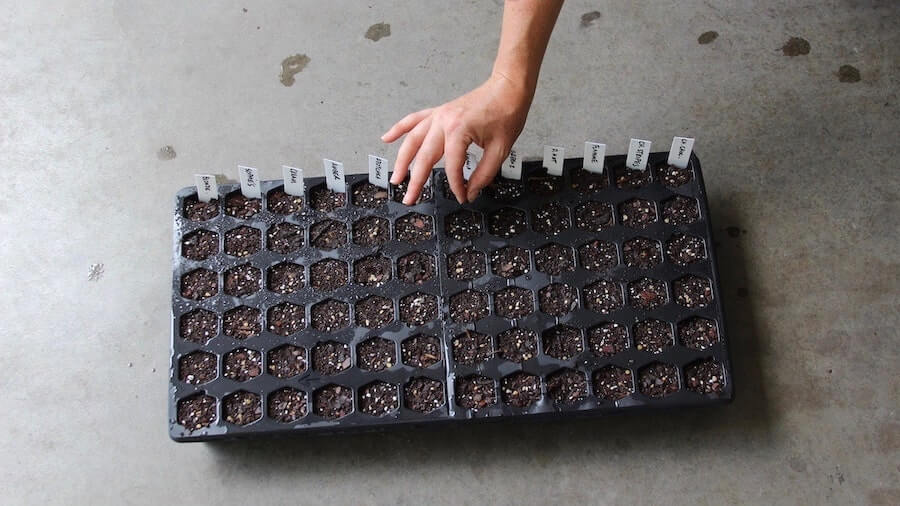
This all-in-one seed tray system delivers professional results for the home gardener. Plastic cell trays are easy to sterilize in between crops, and the humidity dome keeps seeds moist during germination.
4. Add a layer of vermiculite on top of all cells.
vermiculite is an effective way of covering seeds. It is lighter than soil-less mix. This helps tiny seedlings break through. It is also prevents a build-up of algae on the soil mix surface.
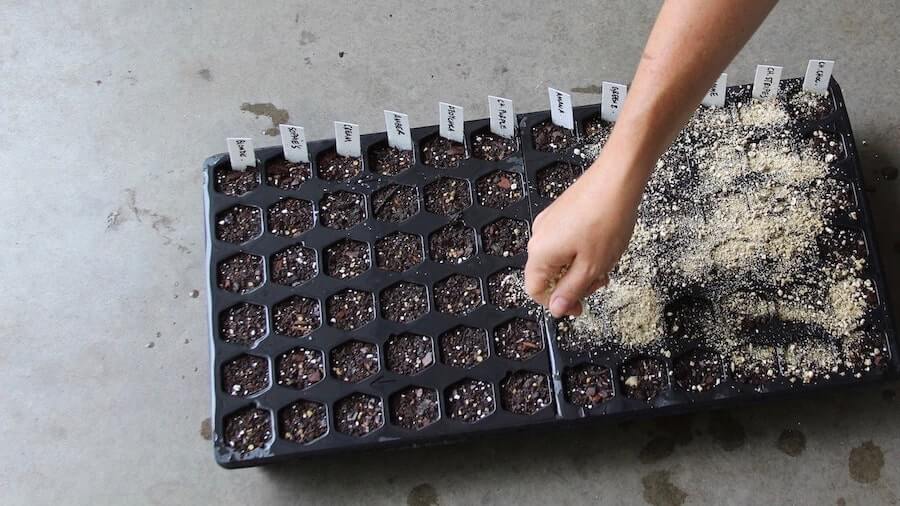
5. Gently water the cells with a fine spray of water.
Watering delicate seed mix requires a fine spray. Use a hose spray attachment that has a “Shower” setting and very gently squeeze the trigger. Pro tip: Start the flow of water with the spray nozzle pointed away from the tray. Once you reach the perfect gentle shower, move the flow of water over the cell tray.
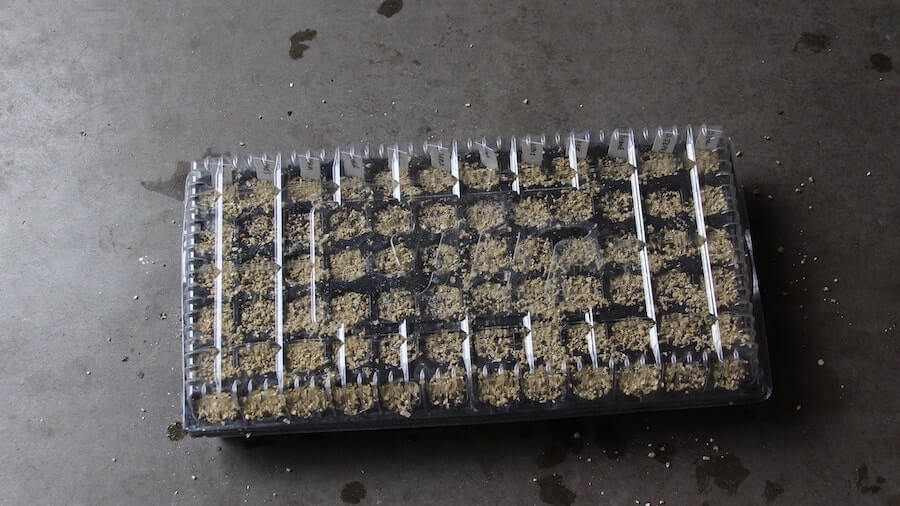
6. Place dome on tray.
The dome will maintain high humidity.
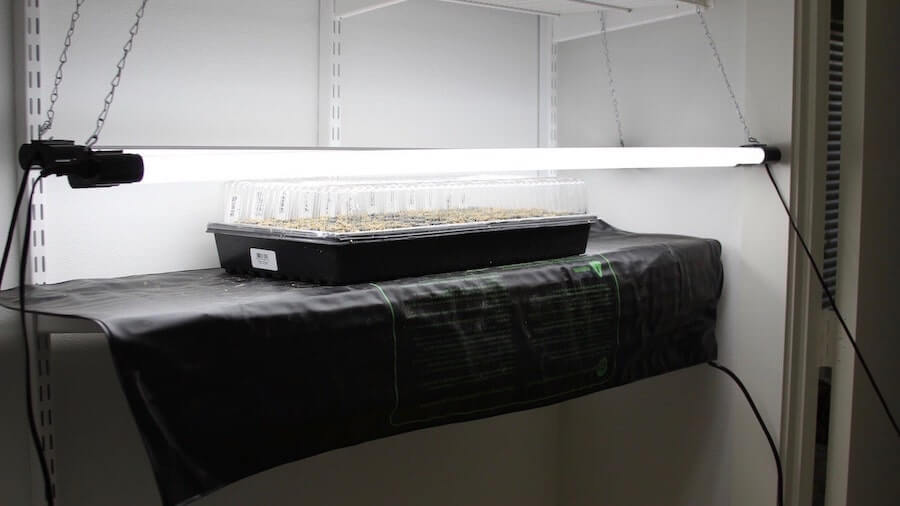
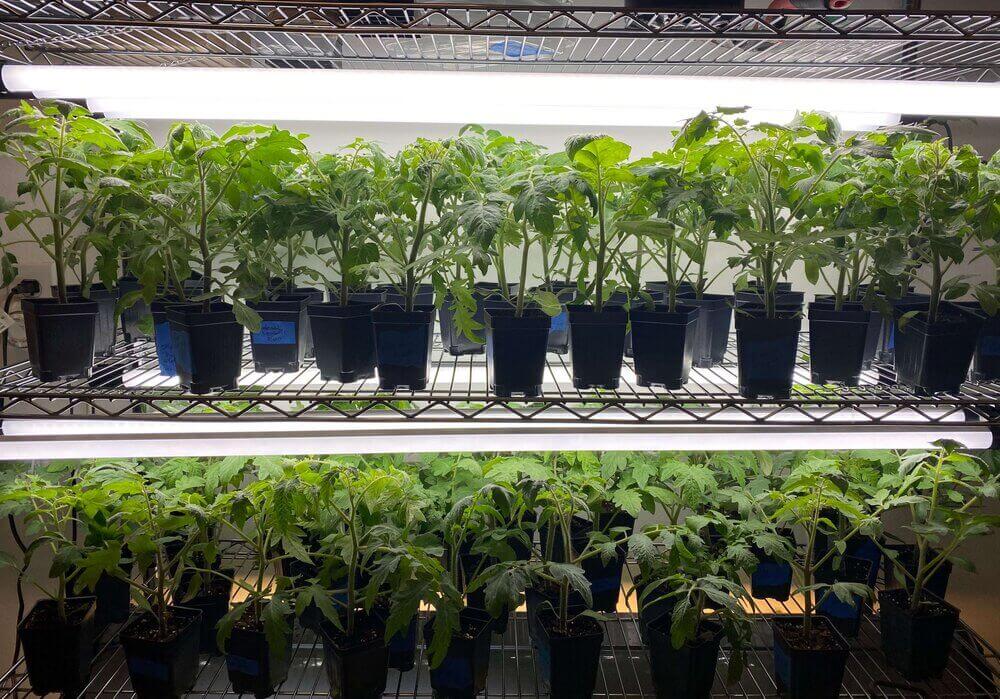
7. Place tray system under strong lights .
Seedlings need intense light for strong, stocky growth. The light from a lamp or a window is not enough. I use LED tube
Fall tomato seeds normally do not need heat mats because of warm temperatures. I start fall seeds in my guest room closet because it is too hot in my garage where I start seeds in the winter.
8. Once seeds have germinated, remove dome.
Remove dome once the seeds have germinated. Lower
Next steps for fall tomatoes after the seeds have germinated:
- Keep light on for 14-16 hours per day. A simple outlet timer helps with this.
- Water the seedlings by pouring water into the bottom tray. Only water when the tray system starts to feel light. Make sure that the amount of water you add is absorbed by the seedlings within 12 hours. You don’t want seedlings sitting in water.
- Start adding a water-soluble
fertilizer at half-strength to the water once the seedlings have true leaves. I like Grow Big by Fox Farms. - Pot up the seedlings to a larger container (2.5″ to 4″) once the seedlings are 3-4 inches tall and have two sets of true leaves. Tomato stems can make new roots, so bury the tomato seedling up to its leaves whenever you are potting up.
- Seedlings are ready to go into the garden when they are 6-8 inches tall, but they must be hardened off. To harden seedlings, gradually expose to outdoor conditions. Start with a few hours in the shade, then a full day in shade. After shade-tolerant, gradually expose to direct sun starting with one hour, then increasing time by an hour each day. Hardening off should take at least a week. Tomatoes are very susceptible to sunscald and can die without proper hardening.
Resources for starting fall tomato seeds

- Can Eating Tomatoes Help Prevent Weight Gain? New Study Says Yes - May 25, 2025
- New to Gardening? Join Our Step-by-Step Beginner Gardening Class - April 24, 2025
- Why “Intensive” Gardening is Not Good - March 9, 2025


