Growing plants from seed is one of the most fulfilling activities we can do as gardeners. The diversity of varieties available is far greater than what is available by transplant at your local garden center.
Learning how to start tomatoes by seed indoors is an important gardening skill to master because tomatoes don’t grow well when direct-seeded.
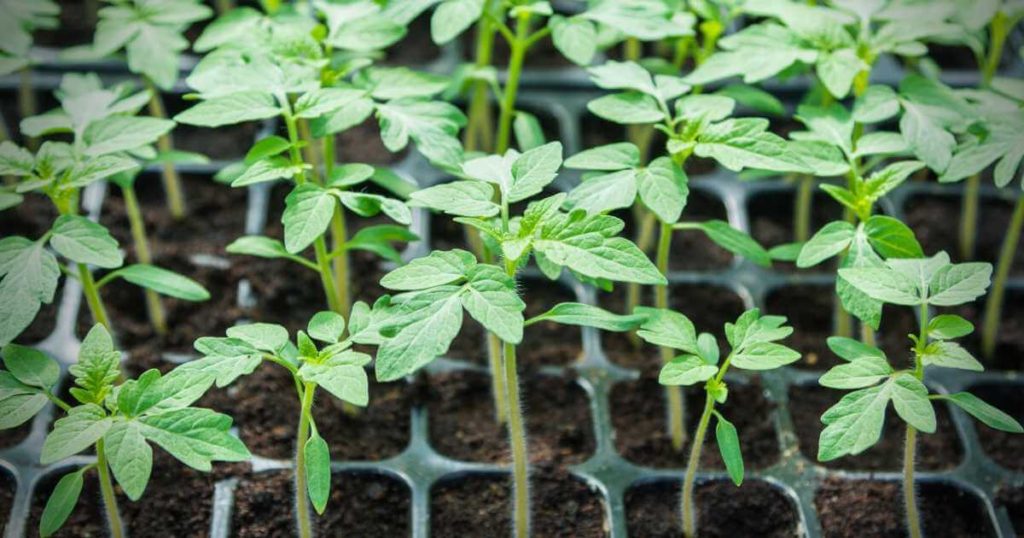
When To Start Tomato Seeds
Tomato seedlings can be transplanted outdoors as soon as all chances of frost have passed. Some people choose to plant tomatoes before the final freeze and protect them with coverings or Wall-O-Waters, but in my experience, there is no distinct advantage to planting out earlier than necessary. It’s my suspicion that this ultra-early planting recommendation stems from suppliers trying to extend the sales period. Bottomline: the earlier plantings aren’t worth the risk.
Timing For North Texas
In North Texas, the optimum time to plant tomatoes is early March through early April. (The average last frost in North Texas is March 12.) Tomatoes planted in late April or May will fail to flower and fruit before the intense heat sets in. When nighttime temperatures are consistently above 70 degrees, fruit production is negatively impacted. It’s very important to plant tomatoes at the right time.
A good rule is to start tomato seeds indoors 8 weeks before planting out. This gives ample time for the tomato plant to develop substantial size, a strong root system, and time for hardening off. In North Texas, the best time to start tomato seeds indoors is mid-to-late January.
The Supplies That You Will Need
The difference between success and failure with starting seeds indoors comes down to the proper supplies. Without the proper supplies, you can’t give the seedlings what they need to thrive: light, heat, moisture, and fertility.
Here is a list of the must-have seed starting supplies for tomatoes:
- Plastic seed tray system
I know that it is tempting to try and start seeds using creative, DIY methods like egg shells or newspaper. But these methods are unreliable and inconsistent. Even peat pots can spell disaster for young seedlings. (“When you know better, you do better” is a very appropriate saying for this situation.) Your time is precious, and if you are going to invest 8 weeks of your time caring for seedlings, then do as much as possible to ensure that your time isn’t wasted.
A professional-quality seed tray system is worth every single penny. Especially because they are reusable and they can be disinfected in between crops.
My favorite seed tray system is Jiffy brand. For a great price, it comes with a bottom-tray, a 72-cell growing tray, and a clear humidity dome. Bottom trays are critical because they allow you to bottom-water your seedlings which prevents disease. The humidity dome maintains a warm, moist environment that encourages speedy germination.

- Soil-less seed starting medium
A high quality seed-starting mix provides a sterile medium for strong root growth and will hold just enough moisture but not too much. Never use garden soil or regular potting soil for starting seeds. Garden soil can introduce bacteria and harmful fungi. Regular potting soil is typically too heavy.
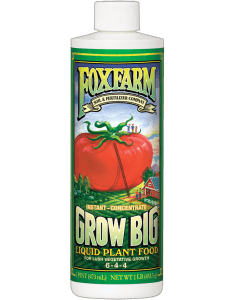
As funny as it sounds, my favorite seed-starting medium is Miracle-Gro Cactus and Succulent Mix. It’s affordable and works for me every time. It was recommended to me by a friend who breeds amaryllis. I took a chance on it, and it turned out to be a great product. Another good seed-starting mix is Light Warrior by FoxFarm.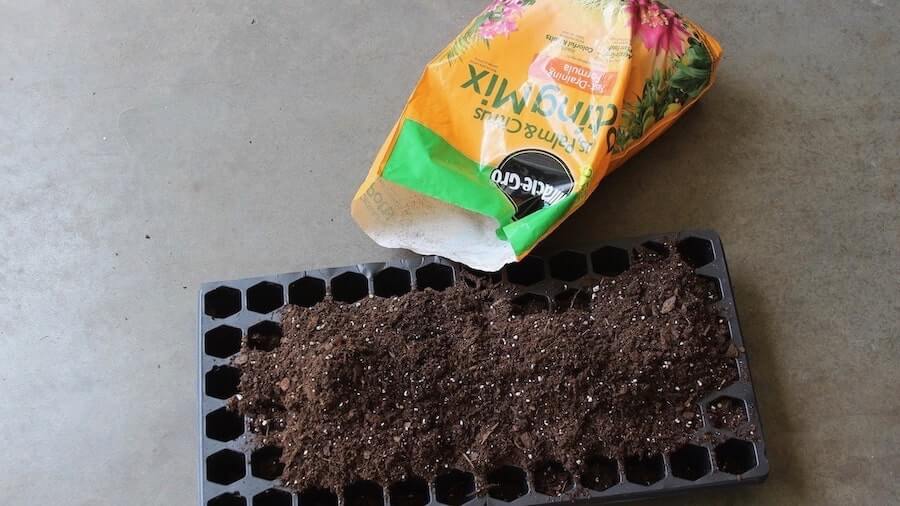
- Shade cloth makes this process much easier because it protects the seedlings from the harsh sun and lets them acclimate slowly. See “Hardening Off” below for a more detailed description of the hardening-off process.
Starting Tomato Seeds Indoors: Step by Step
Once you have gathered your supplies, it’s time to get growing!
Here is how to start your tomato seeds, step-by-step:
- Fill cell tray with seed-starting mix and gently water. (Use the “shower” setting on a hose nozzle.)
- Place 3 tomato seeds in each cell. Make sure to
label the rows of cells with plant labels.
Placing a few seeds in each cell is good insurance – not every seed that you sow will germinate.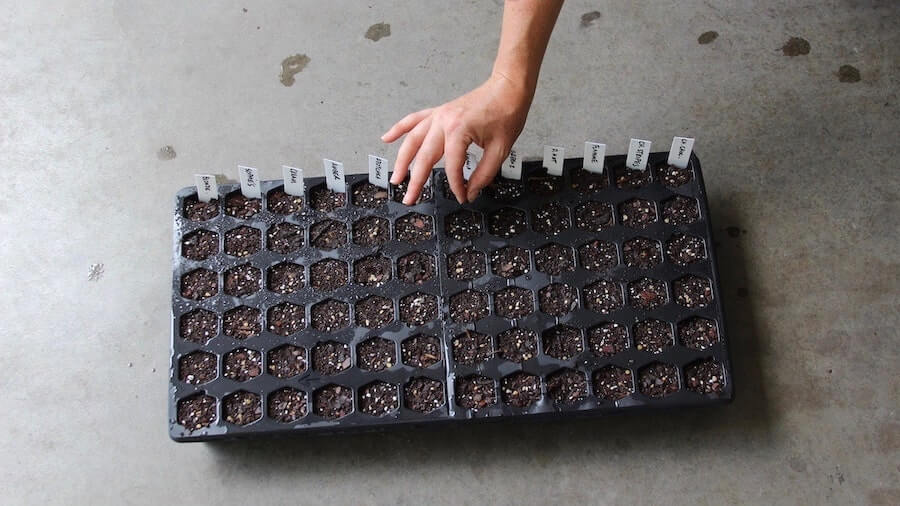
- Cover seeds with mix to the proper depth listed on the seed packet, then add a very thin layer of
vermiculite on top. Gently water again.
If seeds need light to germinate, just leave seeds on the top of the soil mix and do not add more mix on top. Just cover the seeds with a thin layer ofvermiculite .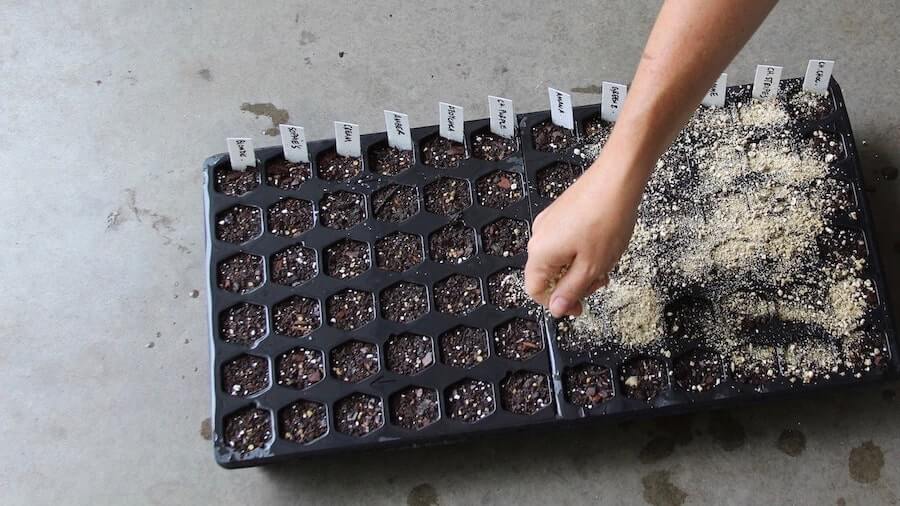
- Place the humidity dome on top of the cell tray and place entire system (bottom tray, cell tray, dome) on top of the heating mat and underneath your
lights . Use outlet timer, and setlights for 14-16 hours per day.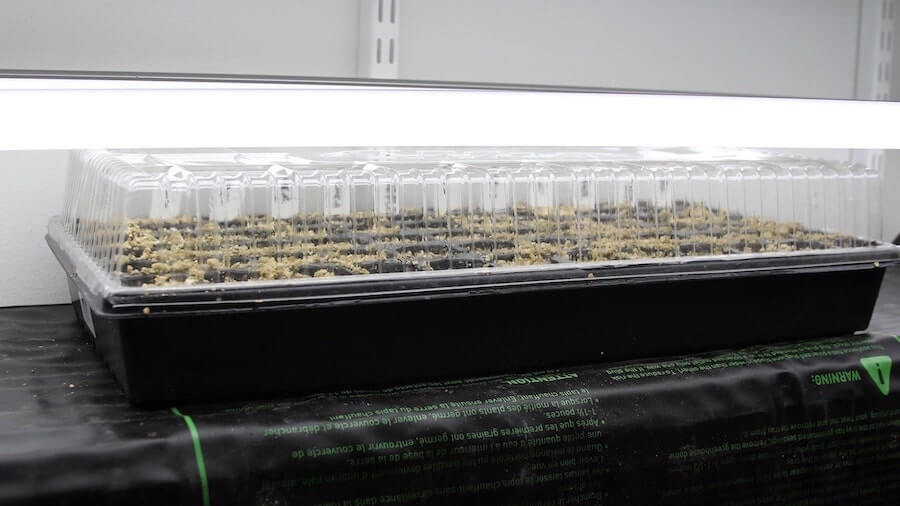
- Once seeds have germinated, turn off
heat mat and remove humidity dome. Adjustlights so that they are directly above the seedlings at all times.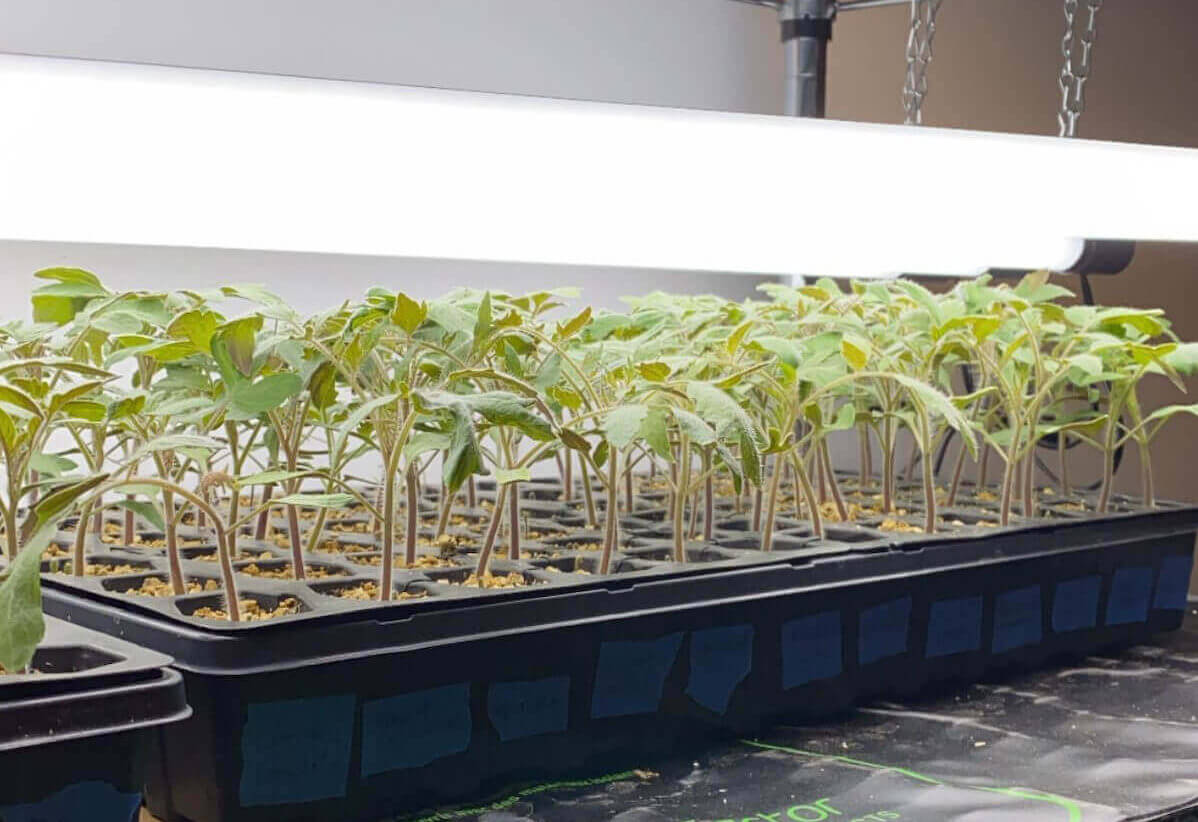
- Water seedlings when they cell tray starts to feel light by pouring water into the bottom tray. Never water seedlings overhead. Make sure that water is completely absorbed within 24 hours – don’t let seedlings sit in standing water.
- When seedlings have 2-3 sets of true leaves, begin fertilizing with a water-soluble
fertilizer at half-strength. - Place an oscillating
fan on the seedlings. This helps to promote strong, stocky plants. - When roots begin to grow out of the bottom of the cell tray, pot seedlings up into individual 2.5″ or 3.5″ nursery pots.
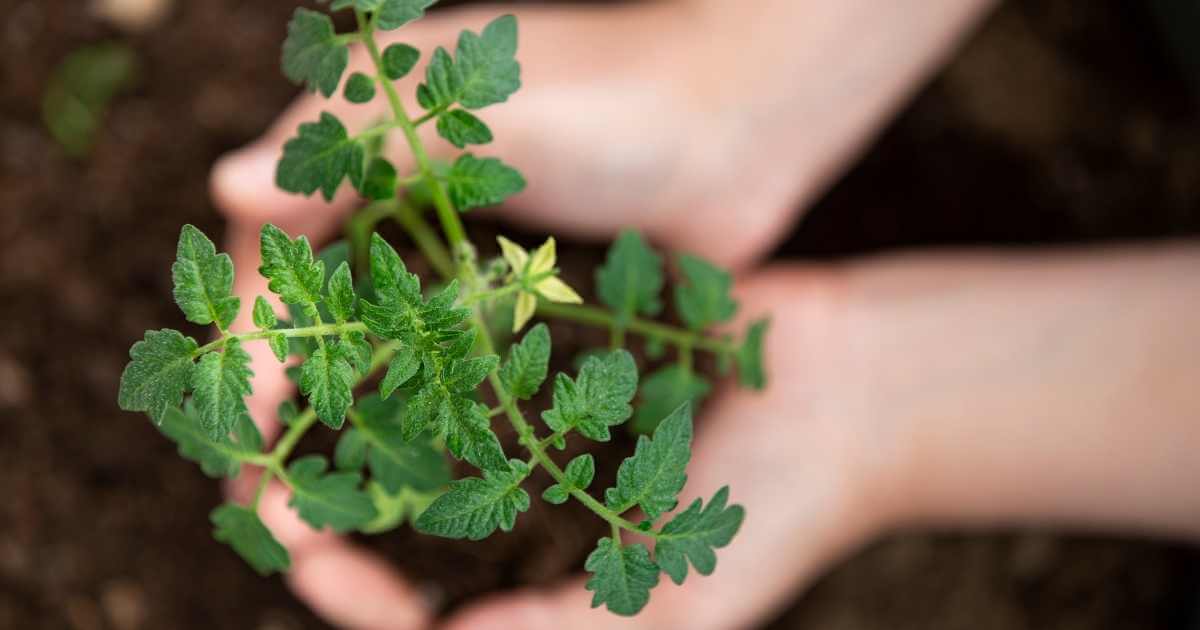
- Once tomato seedlings reach 6-8 inches tall, they are ready to be hardened off.
How To Harden Off Tomato Seedlings
Hardening off tomato seedlings before planting outdoors is a critical step in growing tomatoes from seed indoors. If tomatoes are exposed directly to sun, wind, and cold temperatures without hardening, they can die from the stress. Hardening off is a gradual exposure to outdoor conditions so that the plants can properly adjust.
Give yourself a week to harden the tomato seedlings off properly. Here is the process day-by-day:
| Day 1 | Place seedlings outdoors in a location that is shaded and sheltered from the wind for a few hours. Make sure that there is no chance of freezing temperatures. Bring seedlings back in at night. |
| Day 2 | Return seedlings to the sheltered and shaded location, but increase time outside to 4-6 hours. Bring seedlings back in at night. |
| Day 3 | Place seedlings under |
| Day 4 | Increase time under |
| Day 5 | Expose seedlings to direct sun for 30 minutes to one hour, then return to |
| Day 6 | Expose seedlings to direct sun for 1-2 hours. Then return to |
| Day 7 | Let seedlings get 4-6 hours of direct sun. |
| Day 8 | Seedlings are hardened off and ready to be planted outdoors. |
Remember: Hardening off seedlings is probably the most difficult part of starting seeds indoors. Don’t rush the process. Take as much time as you need to gradually acclimate your precious seedlings. Even after years of starting seeds, I still have a plant or two that shows signs of over-exposure.

Now go start some seeds!
Now that you know when to start seeds, what supplies you need and step-by-step how to start tomato seedlings indoors, it’s time to go start some seeds!
Leave me a comment below and let me know how your tomato seed-starting goes. What are you favorite varieties? Any tips or tricks that you’d like to share? Let me know!
This is our number one recommended lighting system for seed-starting. The tubes are feather-light and produce very bright light that young seedlings need to thrive. We also love that the lights can be linked together saving precious outlet space.
- Can Eating Tomatoes Help Prevent Weight Gain? New Study Says Yes - May 25, 2025
- New to Gardening? Join Our Step-by-Step Beginner Gardening Class - April 24, 2025
- Why “Intensive” Gardening is Not Good - March 9, 2025

