You planted your seeds with care, and they germinated. (Yay!) Now you’re wondering: Do I need to fertilize them? And if I do, when and how should I do it?
Let’s take a look at the basics of seed-starting and how to give your seedlings what they need at the right time, including
The Joy of Starting Plants By Seed
Starting plants by seed is one of my favorite things about gardening because it feels like such a miraculous process. The fact that a seed no bigger than the head of a pin can eventually grow into a plant six feet tall and produce pounds of food? Mind-boggling.
Despite the magic, however, starting seeds can be a bit tricky. It requires the right equipment and an understanding of what a seedling needs during various stages of development.
Basic Indoor Seed Starting: Step-by-Step
Here are some basic steps for starting seeds indoors. To see a full list of recommended equipment, go here:
- Fill plastic cell tray with a soilless seed-starting mix. Water gently using a
watering can with a gentle, shower-like flow, or the “shower” or “fine mist” settings on the hose attachment. - Place 2-3 seeds in each cell tray. If seeds require light for germination, sprinkle a light layer of
vermiculite over them. If they need to be covered, spread a layer of seed-starting mix over them (according to seed depth directions on the seed packet) and add a final dusting ofvermiculite . (label for frequency of application. Remember: when it comes to fertilizing seedlings, less is more. - When seedling roots start to emerge from the bottom of the cell tray, it’s time to move the seedlings into a bigger pot. This is called “potting up”. I like to start seeds in a 72-cell tray, and then pot seedlings up into a 2.5 or 3.5-inch pot before transplanting into the garden. For tomatoes, I typically pot seedlings up a third time into gallon pots or larger.
Do Seedlings Even Need Fertilizer ?
Before you rush to grab the
But once seedlings are large enough, it’s a good idea to begin supplementing seedlings consistently with a balanced
When To Start Fertilizing
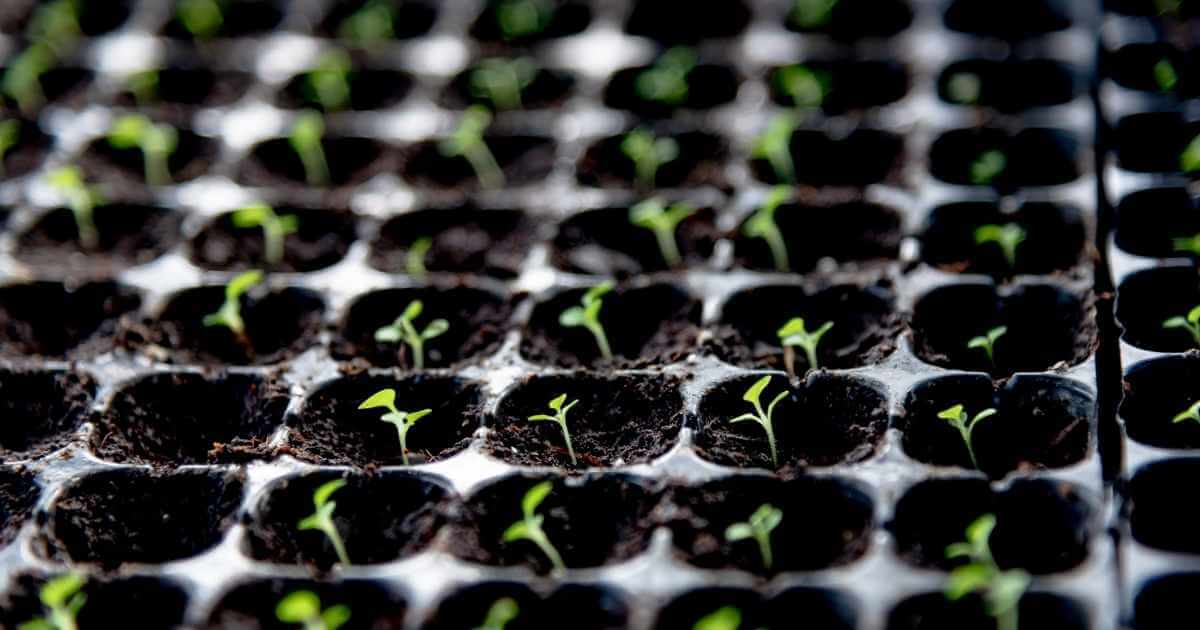
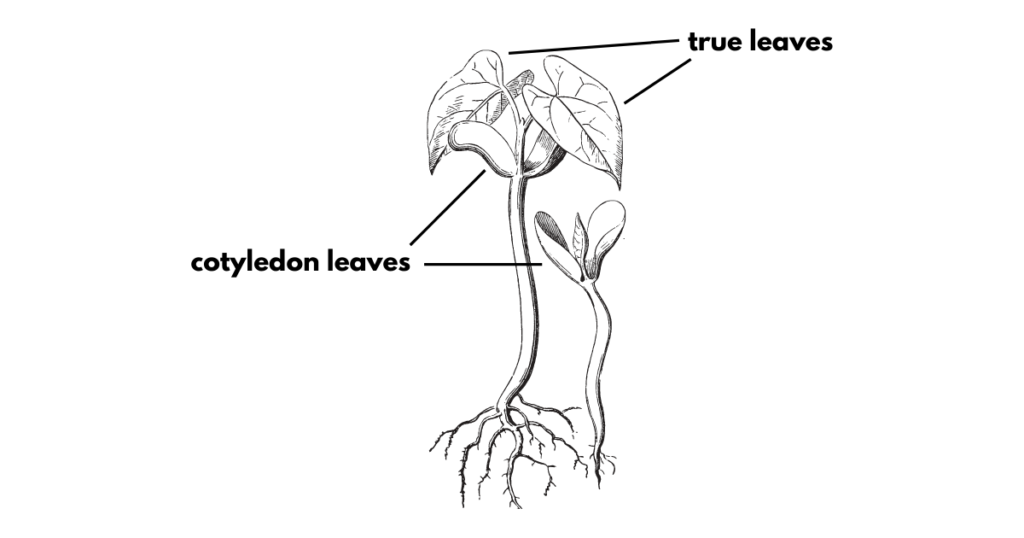
A good rule of thumb is to wait until the seedling grows its second set of true leaves to start fertilizing. The first leaves to emerge from a seedling after germination are cotyledon leaves. True leaves are the actual foliage of the plant. They look and function the same way that all future leaves will.
Best Fertilizers to Use for Young Seedlings
Before you worry about which brand to buy or even the N-P-K ratio of nutrients (nitrogen, potassium, and phosphorus), make sure that the
Water-Soluble Fertilizer
Water-soluble
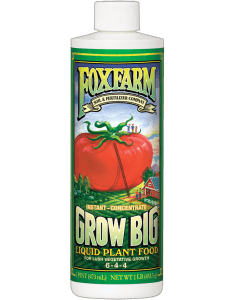
Once my seedlings have two sets of true leaves, I begin fertilizing with
Seed-Starting Troubleshooting
Here are some things that can go wrong when starting seeds:
| Problem | Causes |
|---|---|
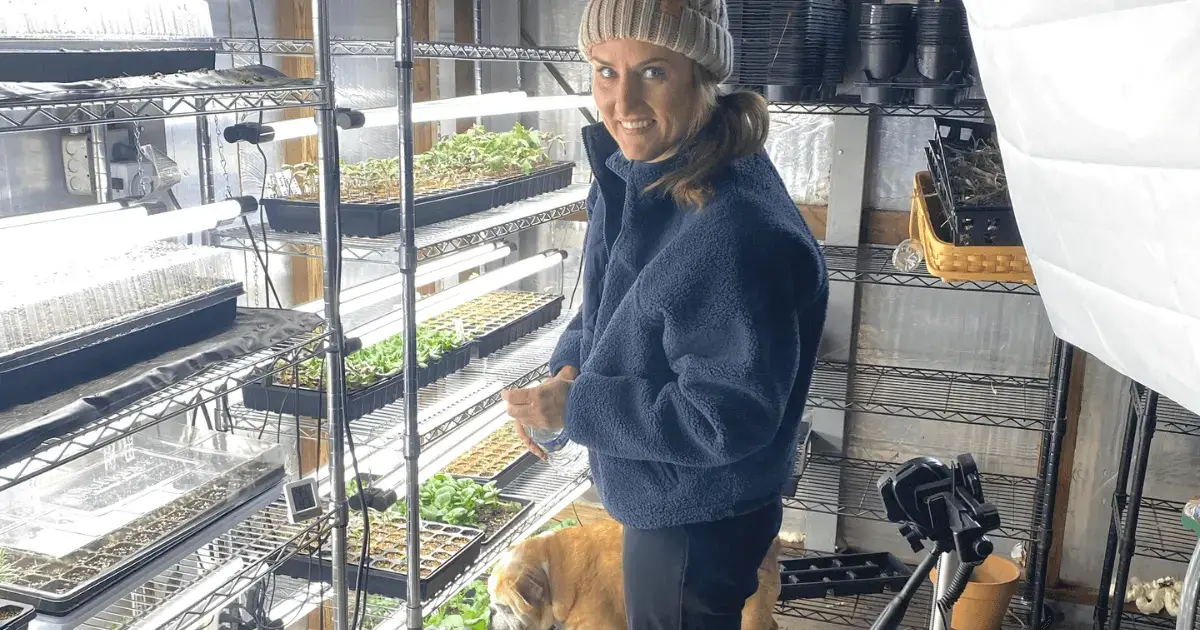
| Thin, leggy seedlings with yellowing leaves | Not enough light. Seedlings need very bright light to thrive. Even the light from a sunny windowsill is not enough for seedlings. When starting seeds indoors use fluorescent or LED tube |
| Seeds not germinating | 1. Soil temperature is too warm or not warm enough. Use a heating mat underneath seed-starting trays to raise the soil temperature to meet the requirements of the particular plant/crop. Here is a good reference for soil temperatures: Soil Temperature Conditions for Vegetable Seed Germination. 2. Seed was planted too deep. Check the seed packet to see what the optimum seed depth should be. Seeds planted too deeply will have delayed germination or completely fail to germinate. |
| Sudden seedling death | When seedlings suddenly die, the most common cause is a disease known as “damping off”. This is typically caused by cool, moist conditions. Prevent damping off by always bottom-watering seedlings. This is why it’s important to use a high-quality, three-part seed starting tray system with a bottom tray (no holes), cell tray, and plastic humidity dome. To bottom-water seedlings, fill the bottom tray with enough water so that the plants absorb it all within 24 hours. Never let water sit in the bottom tray. Only water again when the bottom tray is completely dry, and the cell tray starts to feel lighter in weight. |
Go start some seeds!
Now that you’re armed with everything you need to know to get your seedlings off to strong start, it’s time to go start some more seeds!
Here in North Texas we are lucky enough to garden in all four seasons. To maximize your garden’s productivity, make sure that you are starting seeds regularly, not just once a year. For a month-by-month schedule of what to plant in North Texas, go here.
Happy gardening!
- Can Eating Tomatoes Help Prevent Weight Gain? New Study Says Yes - May 25, 2025
- New to Gardening? Join Our Step-by-Step Beginner Gardening Class - April 24, 2025
- Why “Intensive” Gardening is Not Good - March 9, 2025


