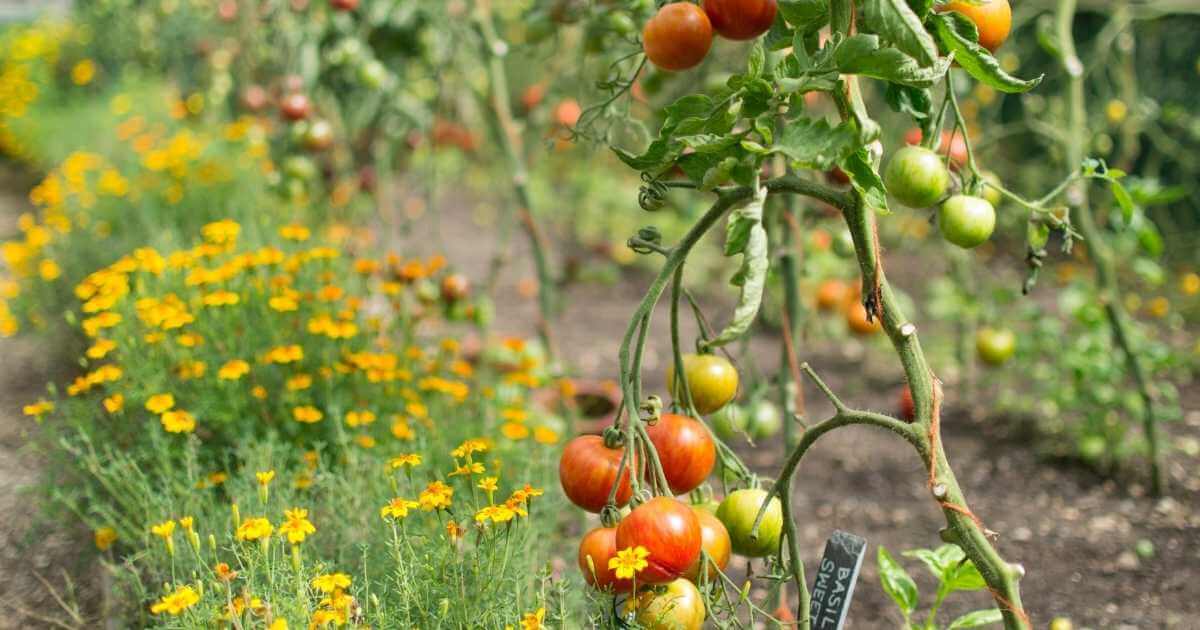
The weather is warming, the birds are chirping, and spring is here. You purchased your tomato seedlings, planted them with care, and watered them in. Now what? A little extra effort now will set your plants up for success

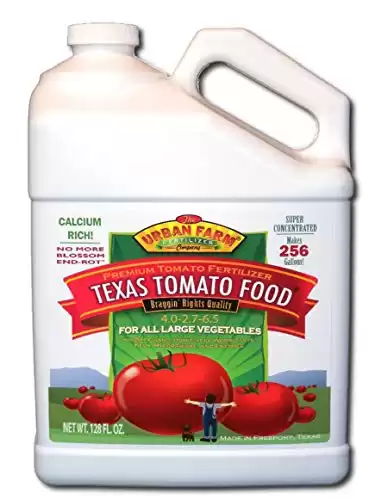
1. Fertilize your new tomatoes
Tomatoes are “heavy feeders” and grow best when given plenty of
2. Resist the urge to overwater
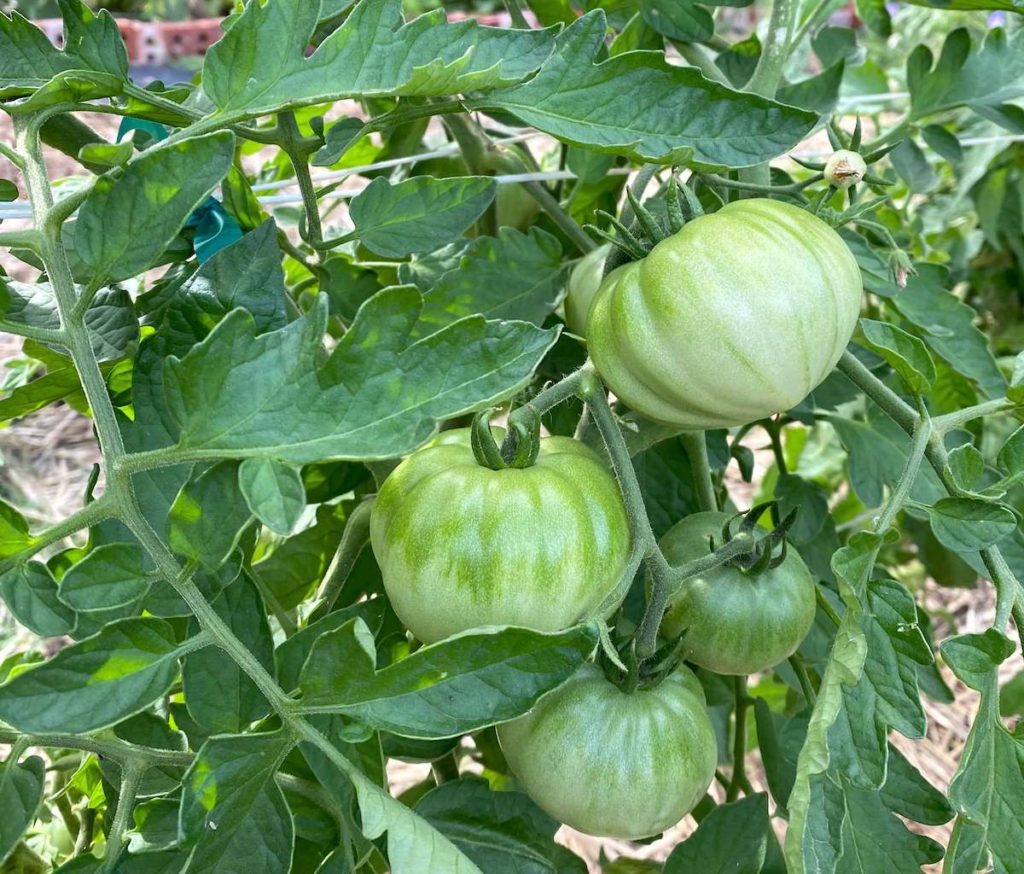
Spring weather is unpredictable with wild swings in temperature and gusty winds. On a hot, dry, windy day, your new transplants may exhibit temporary stress in direct sun. One sign is wilting leaves even though soil is moist. Resist the urge to give the plants more water as overwatering is just as detrimental as under
For new transplants soil should be kept consistently moist but not soggy. To help plants establish deep roots, water infrequently but deeply. This is especially important during cooler spring months. Before the heat sets in, water as infrequently as possible without stressing them. This encourages roots to grow deep, seeking out moisture instead of sitting in it.
3. Mulch, mulch, mulch
Mulch is one of the most important factors for a healthy vegetable garden, and I am always surprised by how few gardeners use it. All vegetable gardens need at least 3 inches of hardwood mulch at all times. Mulch cools the soil, maintains moisture levels, prevents disease, and adds organic materials into the soil as it breaks down. To prevent rot, keep mulch at least 4 inches away from the base of each plant.
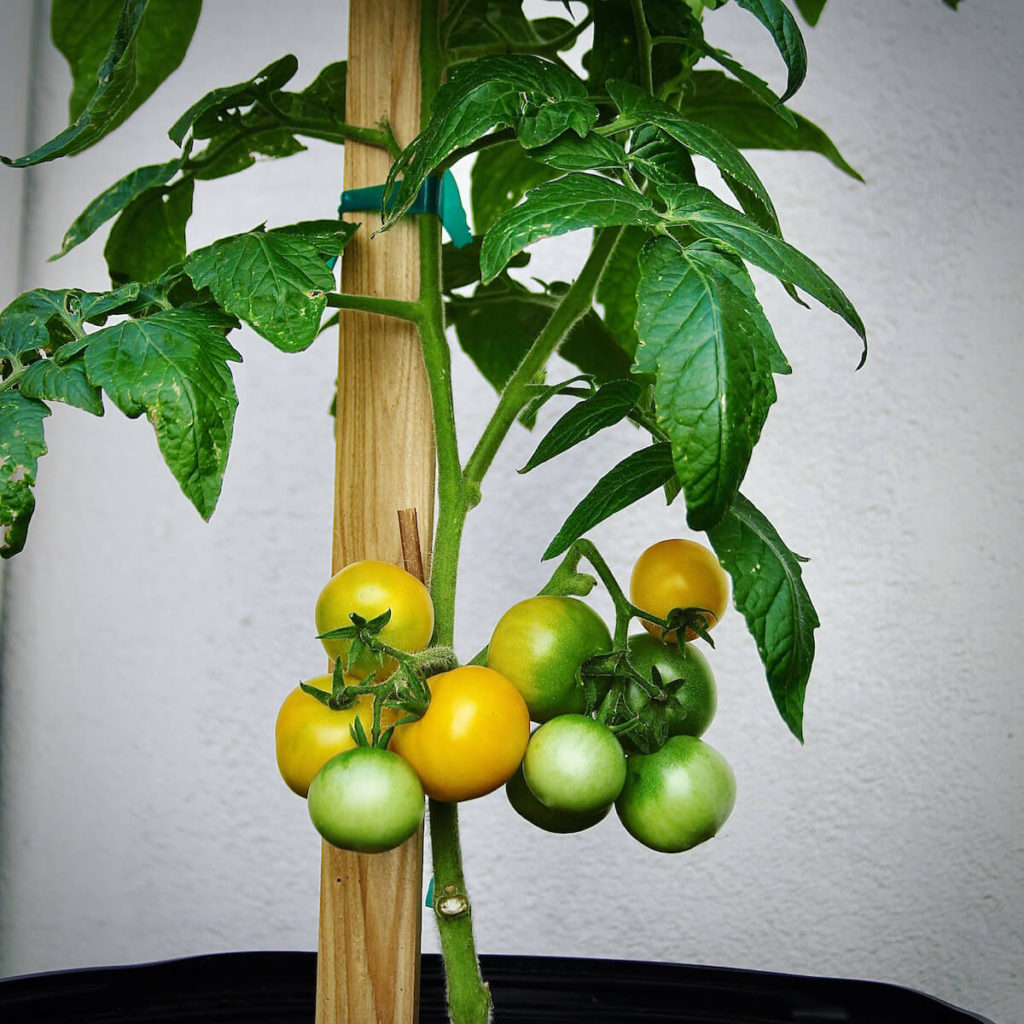
4. Prune
After years of experimentation I find that tomato plants are happier when well-pruned.
- Remove suckers. Suckers are the sprouts that grow in the “crotch” between the central stem and each branch. Several studies recommend allowing one sucker to grow to maturity so that you have two main stems when growing in cages.
Pinch out all other suckers as the plant grows. - Cut off any branches that touch the ground. Any leaves that are in contact with the soil increase the changes of soil-borne disease.
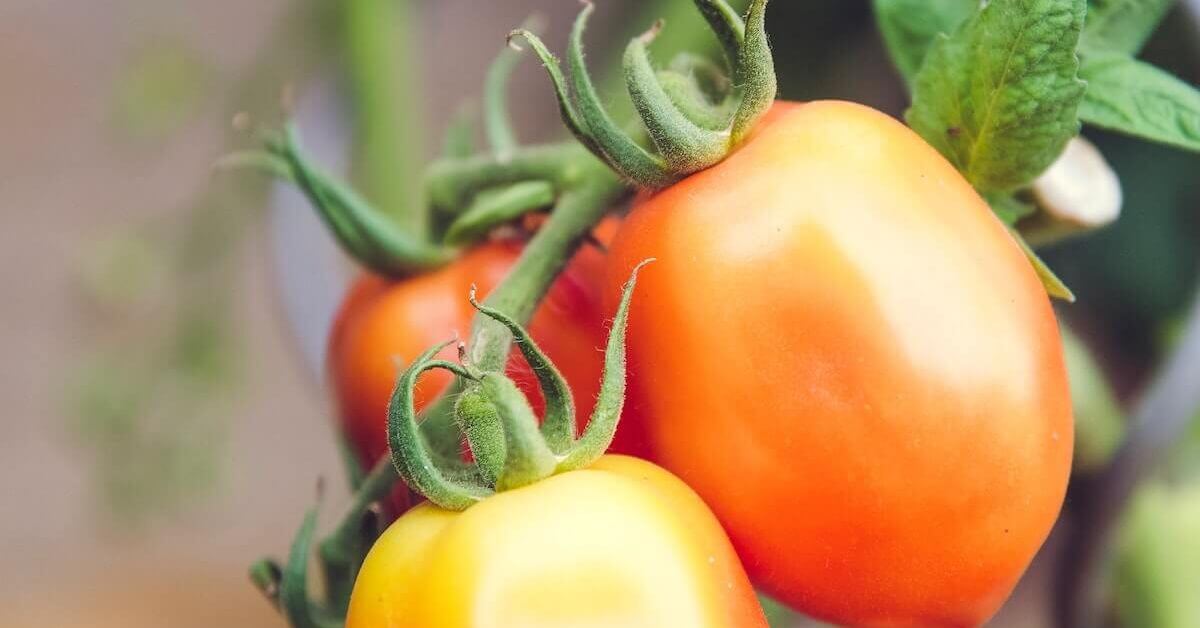
- When fruit begins to set, remove all leaves below the first fruit cluster. Once fruiting starts, the lowest leaves on the plant have done their job. Removing all lower leaves directs energy into the fruit and dramatically reduces disease.
- If space is limited, “top” the plant. Once it reaches the top of the support structure,
prune off all growing tips. This directs energy into fruit and reduces water needs.
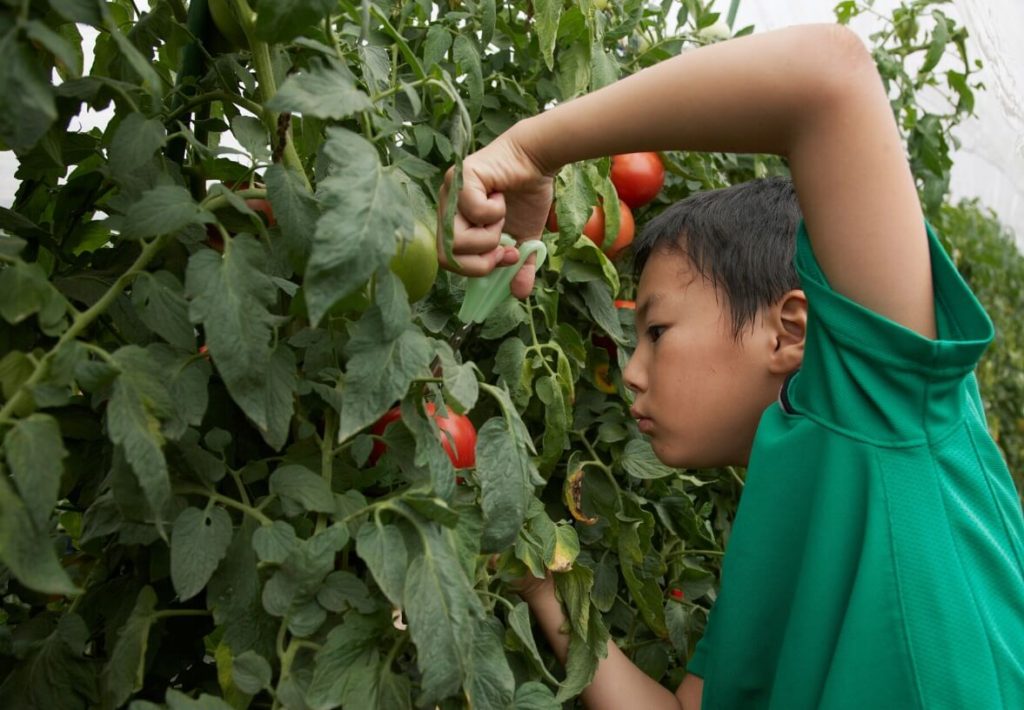
5. Scout for insect or disease damage
- Watch plants carefully for any signs of insect damage. Early damage to tomato plants is caused by worms. Worms are controlled best with organic BT, bacillus thuringiensis. Apply as directed on
label . - At the first signs of disease, cut away affected leaves and dispose of properly. Prevent disease by hand-watering tomatoes, and never letting water touch the leaves. Most disease is caused by sprinkler irrigation and spraying water on foliage. Select cultivars that are disease-resistant.
Read Next:
Why is the Cherokee Purple Tomato so popular?
- Gardening Gifts That Mom Will Love - May 7, 2024
- New Plant I’m Testing: Kitchen Minis™ Bonsai Basil - April 24, 2024
- Resilient Perennials I’m Adding to My New Landscape - February 28, 2024